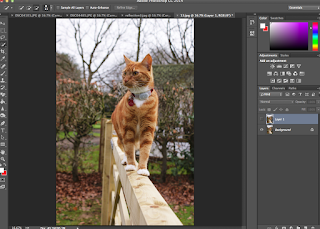
Computer Experiments
To create this inversed effect on this photo, I firstly copied the layer by selecting command j. I then selected command i to inverse the layer. Then, to make the inversed effect look more interesting, I adapted the curves to make the background and darker areas bolder. Overall, I think this looks very effective. Above shows my final outcome.
To create this look, I selected filter and then filter gallery where there was a wide range of different effects to choose from. For my final outcome and experiment above, I selected the 'smudge stick' and used this to create my final outcome which can be seen above.
To create this look, I selected filter, then liquify. Following this, I used the float tool and adjusted my brush size in order to make certain areas appear slightly embossed. By doing this, I was able to create a look which made the cat look a little like a cartoon.
I then experimented with the polarise tool on photoshop. To do this I selected the tool and then altered it to my desired amount. I liked the outcome but did not feel it was especially interesting. For this reason, I experimented with the effect further by using the hue and saturation tool to create an alternative colour scheme which I feel is very effective.
I did another experiment with the filters. To create the outcome above, I selected filter, then filter gallery. When I selected my desired filter, I decided that the 'poster edges' effect looked best. When I had selected it, I then adapted the edge thickness and intensity and also adapted the polarisation in order to create my final experiment outcome which is shown above. Overall, I like the outcome and think it looks a little like a comic strip picture.


No comments:
Post a Comment